
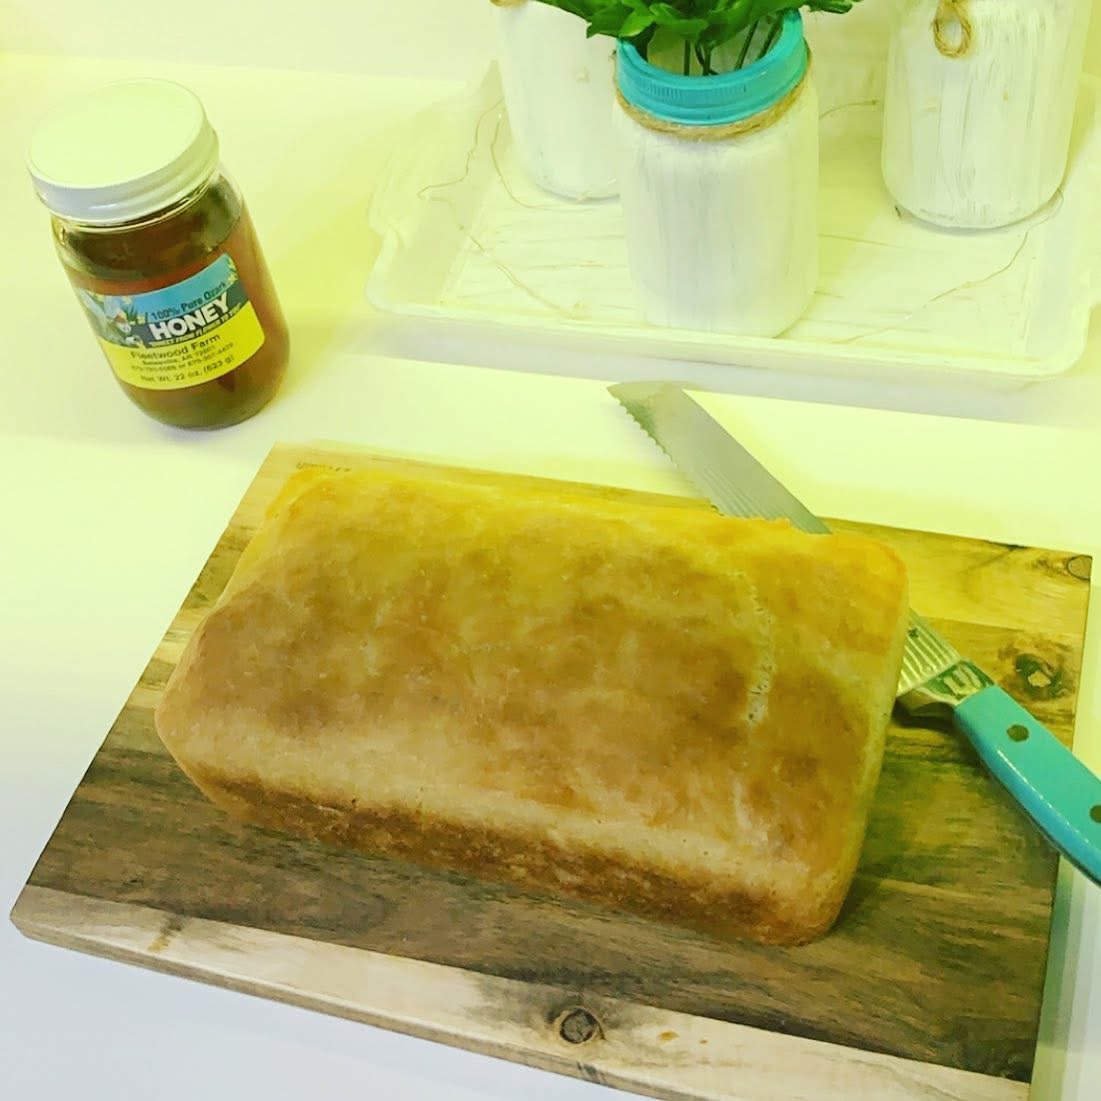
There’s something magical about baking bread from scratch. The smell that fills the kitchen, the anticipation as the dough rises, and the satisfaction of slicing into a warm loaf fresh from the oven never gets old. Out of all the recipes I make, this homemade bread is my favorite thing to bake.
Not only is it simple and reliable, but it also creates two beautiful loaves that are soft, fluffy, and perfect for everything from sandwiches to toast. Whether I’m baking for my family, sharing with friends, or simply stocking the freezer, this recipe is one I return to again and again.
Why I Love This Recipe
I still remember the first time I pulled these loaves from the oven. I was nervous about getting the dough consistency right and worried I might overwork it. Instead, I ended up with golden-brown loaves that disappeared almost immediately. Since then, this bread has become a staple in my kitchen.
One of my favorite moments is watching the dough double in size during the first rise. It feels like a small miracle every time. And honestly, there are few things better than enjoying a warm slice with butter melting into every nook and cranny.
Homemade Bread Recipe
Ingredients
- 8 cups all-purpose flour
- 2 tsp salt
- 1½ Tbsp yeast (or 2 packets active dry yeast)
- ¼ cup honey
- 3½ cups water
- 2 Tbsp butter, melted (for brushing after baking)
Instructions
Step 1: Mix the Dry Ingredients
In a large bowl or the bowl of a stand mixer, combine:
- Flour
- Salt
- Yeast
Mix until evenly distributed.
Step 2: Add the Wet Ingredients
With the mixer running on low speed:
- Add the honey.
- Pour in 2 cups of water.
- Mix for about 1 minute.
Step 3: Adjust the Dough Consistency
Gradually add the remaining water.
The dough should:
- Stick to the bottom of the bowl
- Pull away from the sides
- Feel slightly tacky to the touch
If it becomes too wet, add a little flour at a time until the proper consistency returns.
Step 4: Knead the Dough
- Stand mixer: 6–8 minutes
- By hand: 8–10 minutes
The dough should become smooth, elastic, and stretchy.
Step 5: First Rise
Cover the bowl and allow the dough to rise at room temperature for about 1 hour, or until doubled in size.
Step 6: Shape the Loaves
Gently remove the dough from the bowl.
- Divide into two equal portions.
- Flatten slightly.
- Fold the dough inward and pinch the seam closed.
- Continue shaping until each loaf is smooth.
Place each loaf into a greased loaf pan.
Step 7: Second Rise
Cover the pans and let the dough rise for another hour, or until doubled.
Step 8: Bake
- Preheat oven to 375°F (190°C).
- Bake for 25 minutes.
Step 9: Add Butter
Remove from the oven and brush each loaf with about 1 tablespoon melted butter.
Step 10: Finish Baking
Return to the oven for an additional 5–10 minutes, or until golden brown.
The internal temperature should reach approximately 200°F (93°C).
Troubleshooting Tips
My Dough Is Too Sticky
Don’t panic—this is one of the most common bread-making issues.
Fix:
- Add flour 1 tablespoon at a time.
- Avoid adding too much at once, which can make the bread dense.
My Dough Is Too Dry
If the dough feels stiff or crumbly:
Fix:
- Add water 1 tablespoon at a time until it becomes soft and elastic.
My Bread Didn’t Rise
Possible causes:
- Expired yeast
- Water that was too hot and killed the yeast
- A room that was too cold
Fix:
- Use fresh yeast.
- Let dough rise in a warm location (75–80°F is ideal).
My Bread Is Dense
Dense bread usually comes from:
- Under-kneading
- Not allowing enough rise time
- Too much flour
Fix:
- Knead until elastic.
- Be patient with rising times.
- Measure flour carefully.
My Bread Browns Too Quickly
If the top gets dark before the center finishes baking:
Fix:
- Loosely tent with aluminum foil during the last portion of baking.
Ingredient Variations and Substitutions
For a Whole Wheat Version
Replace:
- 2–4 cups of all-purpose flour with whole wheat flour.
You may need a little extra water.
For Dairy-Free Bread
Replace:
- Butter with olive oil or a dairy-free butter alternative.
For Vegan Bread
Replace:
- Honey with maple syrup or agave nectar.
- Butter with a plant-based alternative.
For a Sweeter Loaf
Increase honey to:
- ⅓–½ cup
This makes a wonderful breakfast bread.
Add Extra Flavor
Try mixing in:
- Garlic powder
- Rosemary
- Everything bagel seasoning
- Shredded cheese
- Cinnamon and raisins
Serving Ideas
This bread is incredibly versatile. Here are some favorite ways to enjoy it:
Breakfast
- Toasted with butter and jam
- Peanut butter and banana toast
- French toast
Lunch
- Turkey or chicken sandwiches
- Grilled cheese
- BLTs
Dinner
- Served alongside soup or chili
- Garlic bread
- Bread and herb-infused olive oil
Special Treat
Warm a slice and drizzle with honey for a simple but unforgettable snack.

Final Thoughts
This homemade bread recipe has earned its place as my favorite thing to make. It’s simple enough for beginners, dependable enough for experienced bakers, and rewarding every single time. Whether you’re making it for a family dinner, a holiday gathering, or simply because there’s nothing better than fresh bread, I hope it becomes a favorite in your kitchen too.

My Favorite Homemade Bread
Ingredients
- 8 cups all-purpose flour
- 2 tsp salt
- 1 ½ tbsp yeast
- ¼ cup honey
- 3 ½ cups water
- 2 tbsp butter melted, for brushing after baking
Instructions
- In a large mixing bowl or the bowl of a stand mixer, combine the flour, salt, and yeast.
- With the mixer running, add the honey and about 2 cups of water. Mix for approximately one minute until combined.
- Gradually add the remaining water. The dough should stick to the bottom of the bowl while pulling away from the sides. It should feel slightly sticky to the touch. If it becomes too wet, simply add a little more flour.
- Knead the dough for 6–8 minutes in a mixer or 8–10 minutes by hand until smooth and elastic. This step is key to developing the bread's structure.
- Cover the bowl and allow the dough to rise at room temperature for about 1 hour, or until doubled in size.
- Gently remove the dough from the bowl and divide it into two equal portions. Shape each portion into a loaf by folding and pinching the dough to create a smooth surface.
- Place the shaped loaves into greased loaf pans. Cover and let rise for another hour, or until doubled in size.
- Preheat the oven to 375°F (190°C).Bake for 25 minutes, then remove the loaves and brush each with melted butter.Return the loaves to the oven and bake for an additional 5–10 minutes, or until golden brown and the internal temperature reaches approximately 200°F.